
The Ultimate Beginner’s Guide to Buying and Setting Up Your First Darts Kit
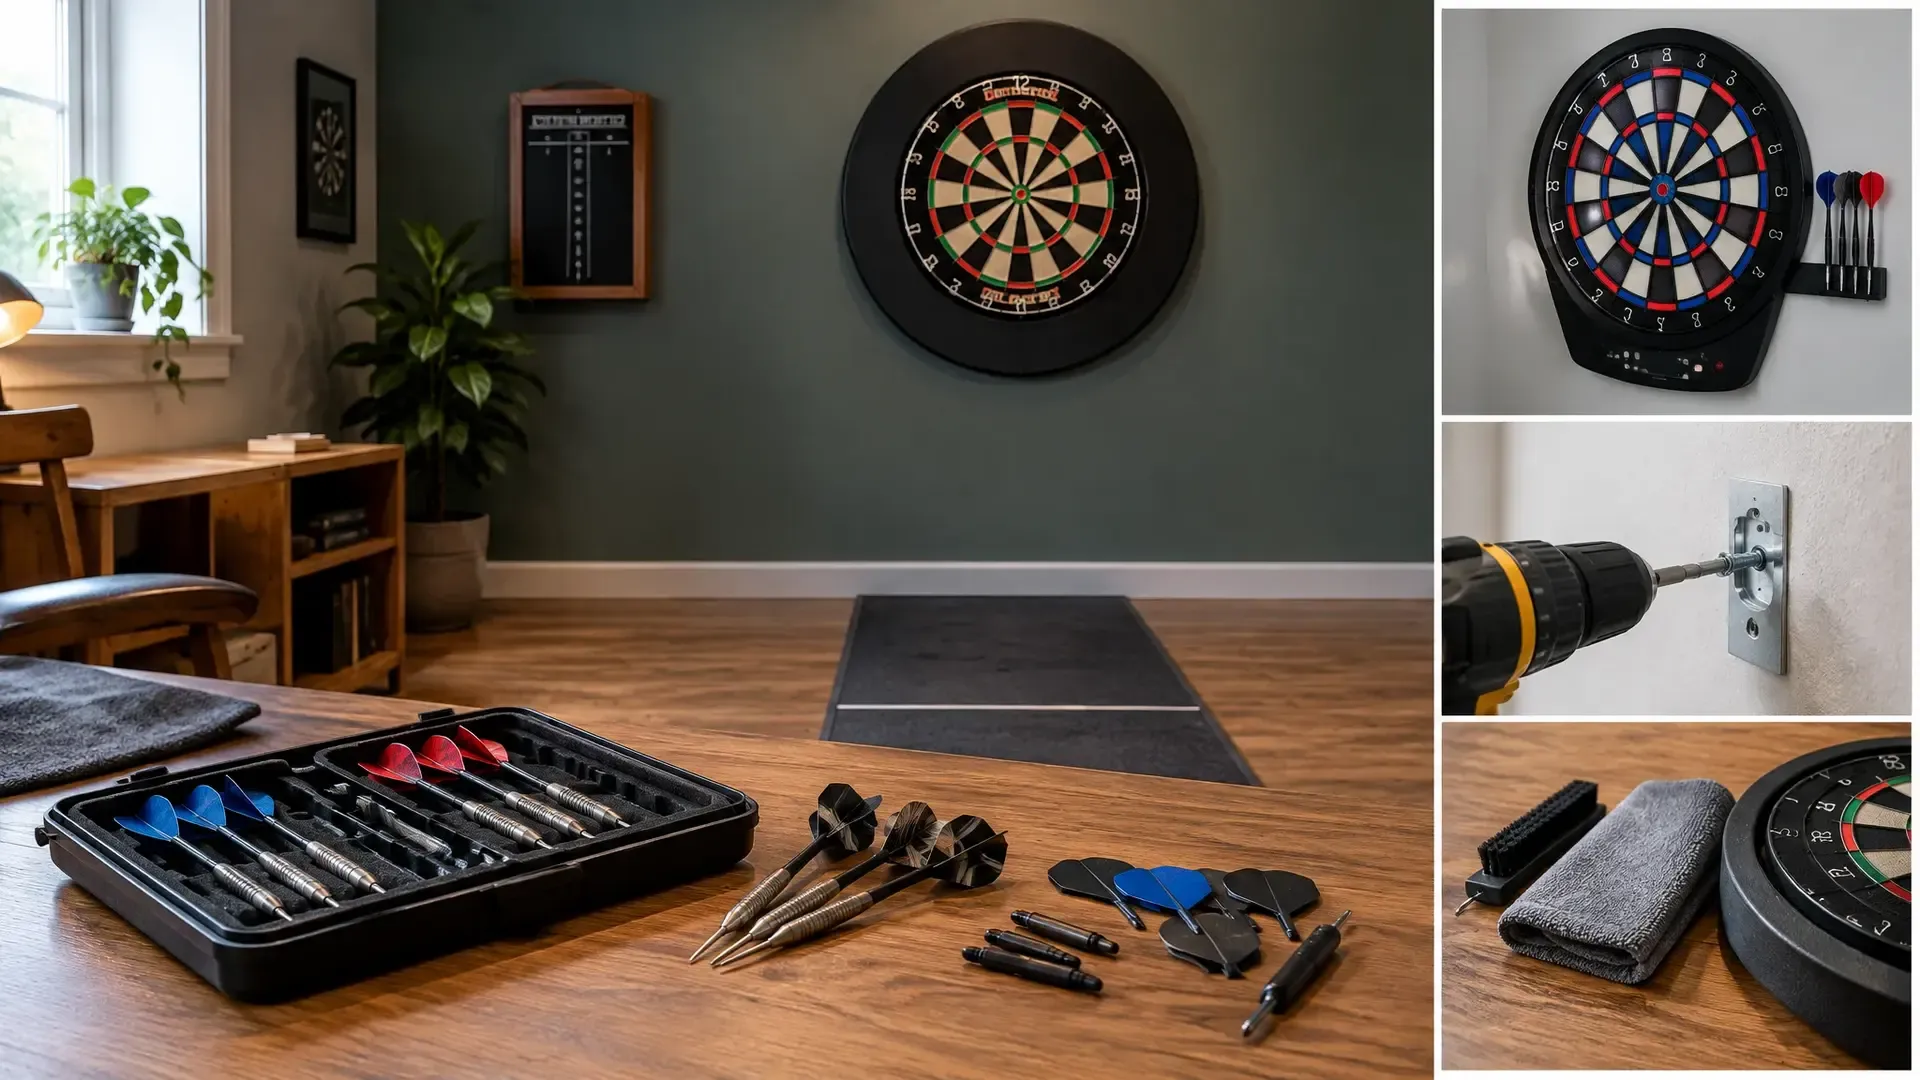
The Ultimate Beginner’s Guide to Buying and Setting Up Your First Darts Kit
Starting darts at home does not require a complicated collection of equipment. A reliable board, a comfortable set of darts and a safe throwing area are enough to begin practising. The important part is choosing equipment that suits your space and installing it carefully, rather than buying the most expensive-looking kit.
This beginner darts setup guide explains what you need first, how steel-tip and soft-tip darts differ, and how to create a stable practice station that is safe for everyone in the room.
The minimum setup you need
Your essential setup has three parts: a compatible dartboard, darts designed for that board and a clear throwing area. Steel-tip darts use sharp metal points and a sisal or bristle board. Soft-tip darts use plastic points and an electronic or compatible soft-tip board. The two formats are not automatically interchangeable, so decide which type fits your home before buying.
Useful extras include a wall surround, a floor mat, suitable lighting, a scoring method and spare flights and shafts. These accessories can protect your room and make practice more convenient, but they are not all necessary on day one.
How to choose a dartboard for home
For steel-tip play, look for a well-constructed sisal or bristle board. Sisal is the compressed natural fibre used in many traditional boards. A dense, evenly finished surface should hold darts securely while allowing the surface to recover from normal use. Clear segment colours and clean wire or band construction also make the board easier to read.
Staple-free construction is a useful consideration because fewer staples can leave more open scoring area and reduce the chance of hitting protruding hardware. It is not, by itself, a guarantee of superior quality. Check that the board includes, or is compatible with, secure mounting hardware and that the number ring can be oriented correctly.
Soft-tip players need a board designed for plastic-point darts. Electronic boards may provide automatic scoring and game options, while other soft-tip boards rely on a separate scoring method. Confirm equipment compatibility before purchase, especially if you already own darts from another format.
Measure the room before ordering. You need enough distance for the throw, clear space around the board and a lane that does not cross a doorway or busy walkway. A surround can protect the wall from stray darts, while a mat can protect the floor and help you mark the throwing line consistently.
How to choose your first darts
Dart weight is one of the first specifications you will see, but there is no universally correct beginner weight. A lighter dart may feel quick through the air, while a heavier dart can feel more stable for some throwers. Begin with a moderate, comfortable option and focus on whether you can release it repeatedly without forcing your arm.
The barrel is the main metal body of the dart. Its grip pattern and shape affect how it feels between your fingers. A straight barrel offers a consistent reference point, while a tapered or shaped barrel may suit a particular grip. Choose comfort and repeatable release over aggressive grip patterns or marketing claims.
The shaft is the section that connects the barrel to the flight. Shaft length changes the dart’s balance and how it sits in the air. The flight is the fin at the rear; different shapes can alter stability and trajectory. These parts are inexpensive consumables, so a sensible starter set is one that feels secure in your hand and is easy to replace.
If possible, try more than one shape or weight before committing to upgrades. Your grip, release and throwing rhythm matter more than a specification that sounds advanced. Once your technique becomes more consistent, you can change one component at a time and notice what actually helps.
Steel-tip versus soft-tip darts
Steel-tip darts are the traditional choice for a bristle board. They suit players who want a straightforward board-and-darts setup and can provide a satisfying physical feel when darts enter the sisal. However, the points are sharp, so the throwing lane needs careful supervision and better separation from children, pets and other people.
Soft-tip darts use plastic points and are often chosen for homes where reducing sharp-point risks is a priority. They can be suitable for electronic boards, shared rooms and players who prefer automatic scoring. The board, dart weight, point design and permissible equipment must be compatible; a soft-tip dart is not simply a safer replacement for a steel-tip dart on every board.
Your decision should reflect available space, safety needs, the formats used by people you play with and whether you expect to practise in a club or venue. Neither format is best for every beginner. If you are interested in alternative games once your setup is ready, cricket darts can provide a change from standard scoring practice.
Darts equipment checklist
Separate the essentials from the upgrades so the first purchase stays focused:
- Essential: a compatible board, one matched set of darts, secure mounting hardware, a clear throwing lane and a verified throwing-line mark.
- Helpful: a wall surround, protective floor mat, dedicated lighting, a scoreboard or scoring app, spare flights, spare shafts and a small container for accessories.
- Format-specific: suitable steel-tip or soft-tip darts, plus any electronic-board requirements or scoring features you intend to use.
How to install a dartboard safely and accurately
Start by choosing a wall with enough surrounding clearance and no regular foot traffic in front of it. Keep the board away from areas where children or pets may enter unexpectedly. Protect the wall with a surround or suitable backing, and protect a delicate floor with a mat if needed. Never throw while someone is in the lane or retrieving darts.
Mount the board to a solid, stable surface using the supplied or appropriate hardware. The board should not wobble, tilt or gradually work loose. Position and orient it according to the current rules for your chosen format. Before marking the throwing line, verify the current board height, bull height, throwing distance and any other installation dimensions against an authoritative rules publication. Steel-tip and soft-tip requirements or common practice arrangements may differ, and measurements should not be copied from memory.
Once the board is mounted, use a level to check it. Confirm that the centre is at the correct height, the board face is square to the throwing lane and the number ring is oriented correctly. Measure the throwing distance from the appropriate point on the board to the front edge of the throwing line, following the rules source for your format. Mark the oche, or throwing line, clearly so your feet return to the same position each time.
Install lighting so the whole scoring area is visible without creating harsh shadows or glare. Place the scoring area to one side of the lane rather than where a returning player could step in front of a throw. Test the light, check the line from the throwing position and make sure loose cables cannot become a trip hazard.
Basic maintenance for a longer-lasting setup
Rotate a sisal board occasionally when its design and mounting system allow it. This spreads normal wear across the scoring segments. Avoid soaking the board, spraying it with unsuitable cleaner or using excessive moisture. Follow the manufacturer’s care instructions, since different boards and mounting systems may have specific requirements.
Inspect darts regularly. Replace bent or damaged points, split flights and loose or cracked shafts. Check that mounting hardware remains tight and that the board has not shifted. Soft-tip players should also inspect plastic points and the board’s target surface for damage or blocked segments. Keep spare flights and shafts available because these small parts can fail during ordinary practice.
For structured improvement, connect the equipment setup to a simple routine rather than throwing without a plan. A future guide to darts practice routines can help you organise warm-ups, grouping work and scoring games. When you begin playing more formal score-based games, a darts checkout chart can also make finishing combinations easier to understand.
What to buy first on different budgets
With a limited budget, prioritise a secure, compatible board and darts that feel comfortable. Do not sacrifice safe mounting or a clear throwing lane for decorative accessories. A mid-range first purchase can add a surround, mat, better lighting and spare consumables. At a higher budget, consider improved board construction, a sturdier mounting solution and a dedicated scoring station, but only if those upgrades suit your room and playing format.
Exact prices, stock and specifications change, so compare current details at the time of purchase. The best first kit is the one you can install safely, use consistently and maintain without unnecessary complexity.
Pre-play checks and troubleshooting
Before each session, check the following:
- The board is secure, level and correctly oriented.
- The throwing line is clear and the distance has not changed.
- Lighting shows the full board without glare or deep shadows.
- No person, pet or obstacle is in the throwing lane.
- Flights, shafts, points and mounting hardware are not damaged or loose.
If the board moves, stop throwing and tighten or replace the mounting hardware. If your throw feels inconsistent, check the oche measurement and make sure you are not stepping beyond the line. Poor visibility usually indicates a lighting position or glare problem. If darts stop holding well in one area, inspect the board for wear and rotate or replace it as appropriate.
A careful first installation gives you a safer and more enjoyable foundation for learning. Keep the equipment simple, choose the format that fits your circumstances and make repeatable setup checks part of every practice session.